

Welp, call me Martha Stewart because I tackled my first DIY a few weeks back and I am pretty proud of the results. I can’t take credit for this genius idea, so I have to thank Louisa and Molly for their awesome tutorials and inspiration. Here is what you’ll need:
1 Can of High Gloss Paint in the color of your choice {I used Behr’s Whisper White}
3 Campaign Style Drawer Pulls {Product ID: 1697}
3 Packs of 2in. Brass Corners {four to a pack}
Drill
Sand Paper

Start by assembling your Rast chest and leave the knobs off.
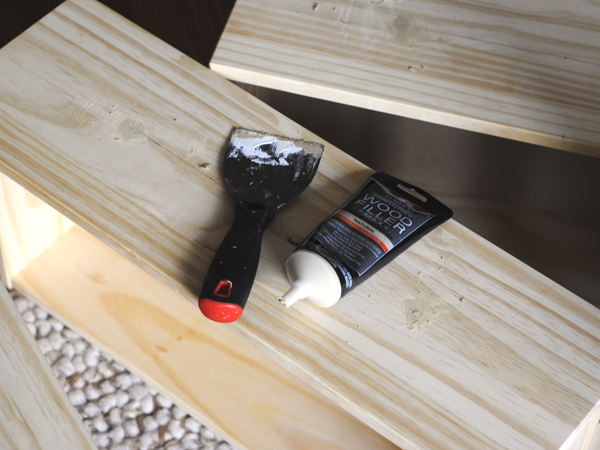
Use your wood filler to fill in the holes and allow about 15-20 minutes to dry. Then, use sand paper to ensure a smooth surface.
The next few steps I failed to document…
Paint the exterior of the Rast chest using the color of your choice, I used two coats. Once each drawer has dried, start marking the holes for your hardware. Use the drill to screw in the brass corners and measure out the campaign hardware with a pencil. The campaign pulls will sit on top of the drawer {they will not be set in} but you really can’t see a difference.
Style and pat yourself on the back because they look gooooood.

I made two chests, one for each side of the bed. I tried to tackle this project on a Sunday, but it honestly took me a few days to complete. My hand also became a claw after drilling in the hardware for 2 hours straight.

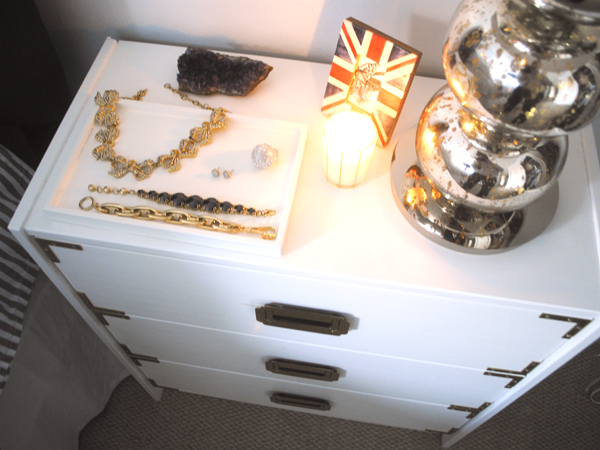
All in all, I am really happy with the result!
{our bedroom is still a work in progress, and my sheets really need to be ironed} 🙂
)